RadioMaster Pocket ELRS Review: From FPV.Skydive Simulator to Soccer Bot

This video is hosted by YouTube. It loads only when you press play, and YouTube may then set cookies. Watch on YouTube

The Backstory
Most RadioMaster Pocket reviews are written by FPV drone pilots. I'm still not one of them.
I'm a mechanical engineering student at BUET. I am currently building robots that roll on the ground. My latest project? A soccer bot that needs simple, reliable control.
So when I got my RadioMaster Pocket, I tested it the way I'd actually use it:
Bluetooth mode with FPV.Skydive on my phone
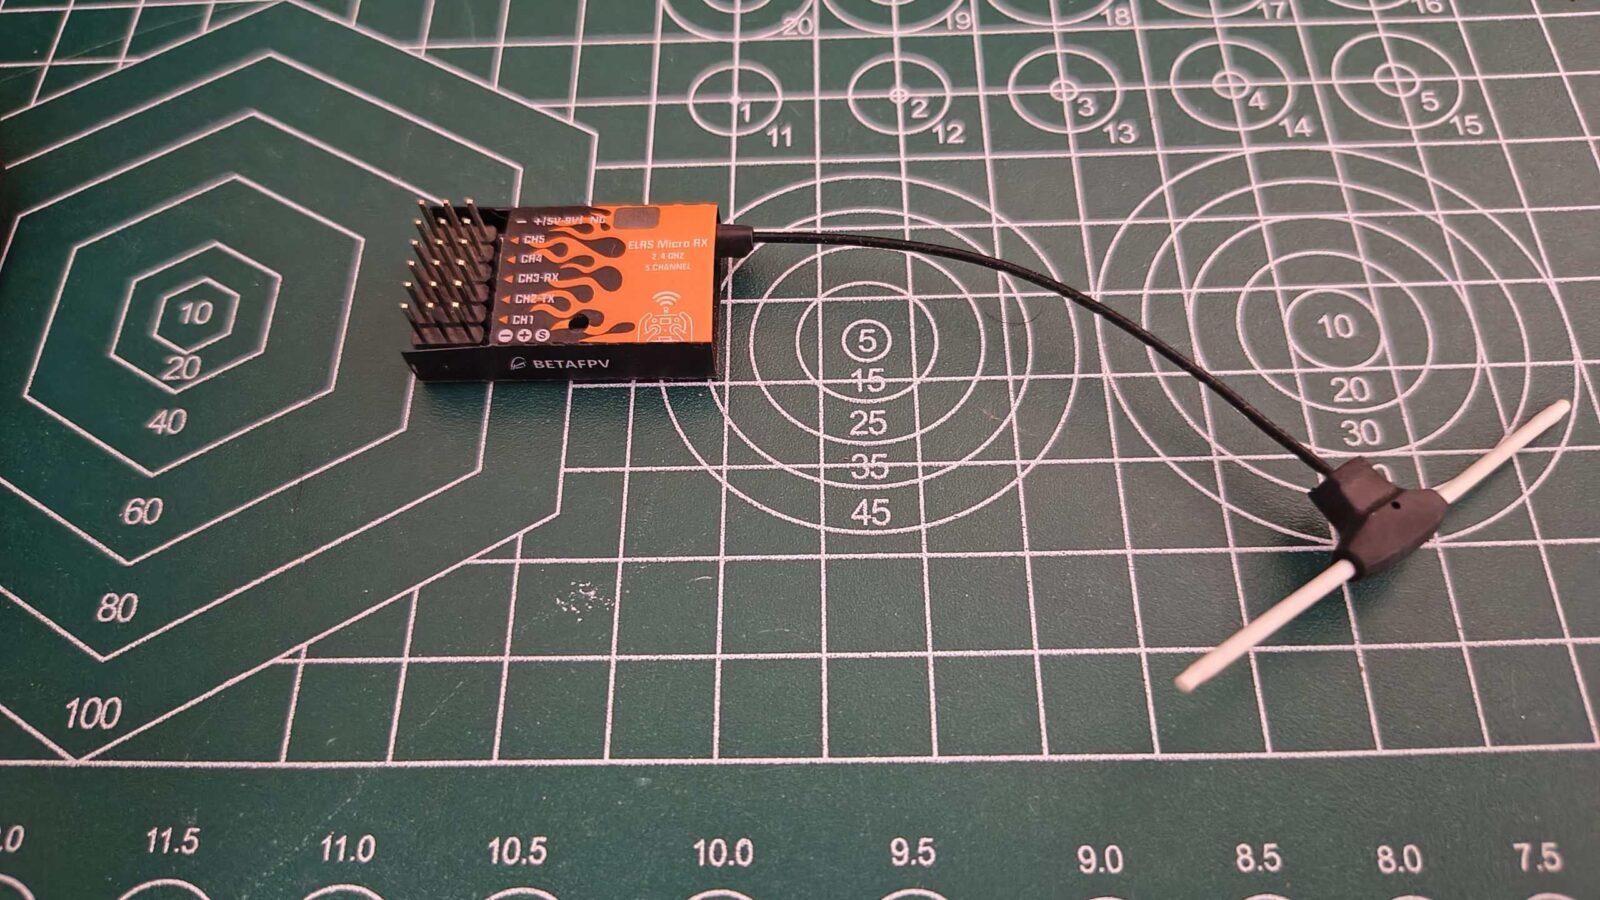
ELRS binding with a BETAFPV ELRS PWM Receiver 5CH
Driving my soccer bot with just the right stick (forward/backward + left/right)
Here's how it went.
First Impressions
When the package arrived, I laughed. This thing is tiny.
Specs:
Weight: ~185g (lighter than my phone)
Size: Fits in a jacket pocket
Gimbals: Hall-effect sensors (smooth, no drift)
Protocol: ELRS built-in
Battery: 2x 18650 with USB-C charging (some packages won't come with the batteries.)
Firmware: EdgeTX
Price: ~$65-80
Quick Buy Links
| Item | Where to Buy |
|---|---|
| RadioMaster Pocket (ELRS) | AliExpress |
| BETAFPV ELRS PWM Receiver 5CH | AliExpress |
| 18650 Batteries (2x) | AliExpress |
| FPV.Skydive on Steam | Steam Store |
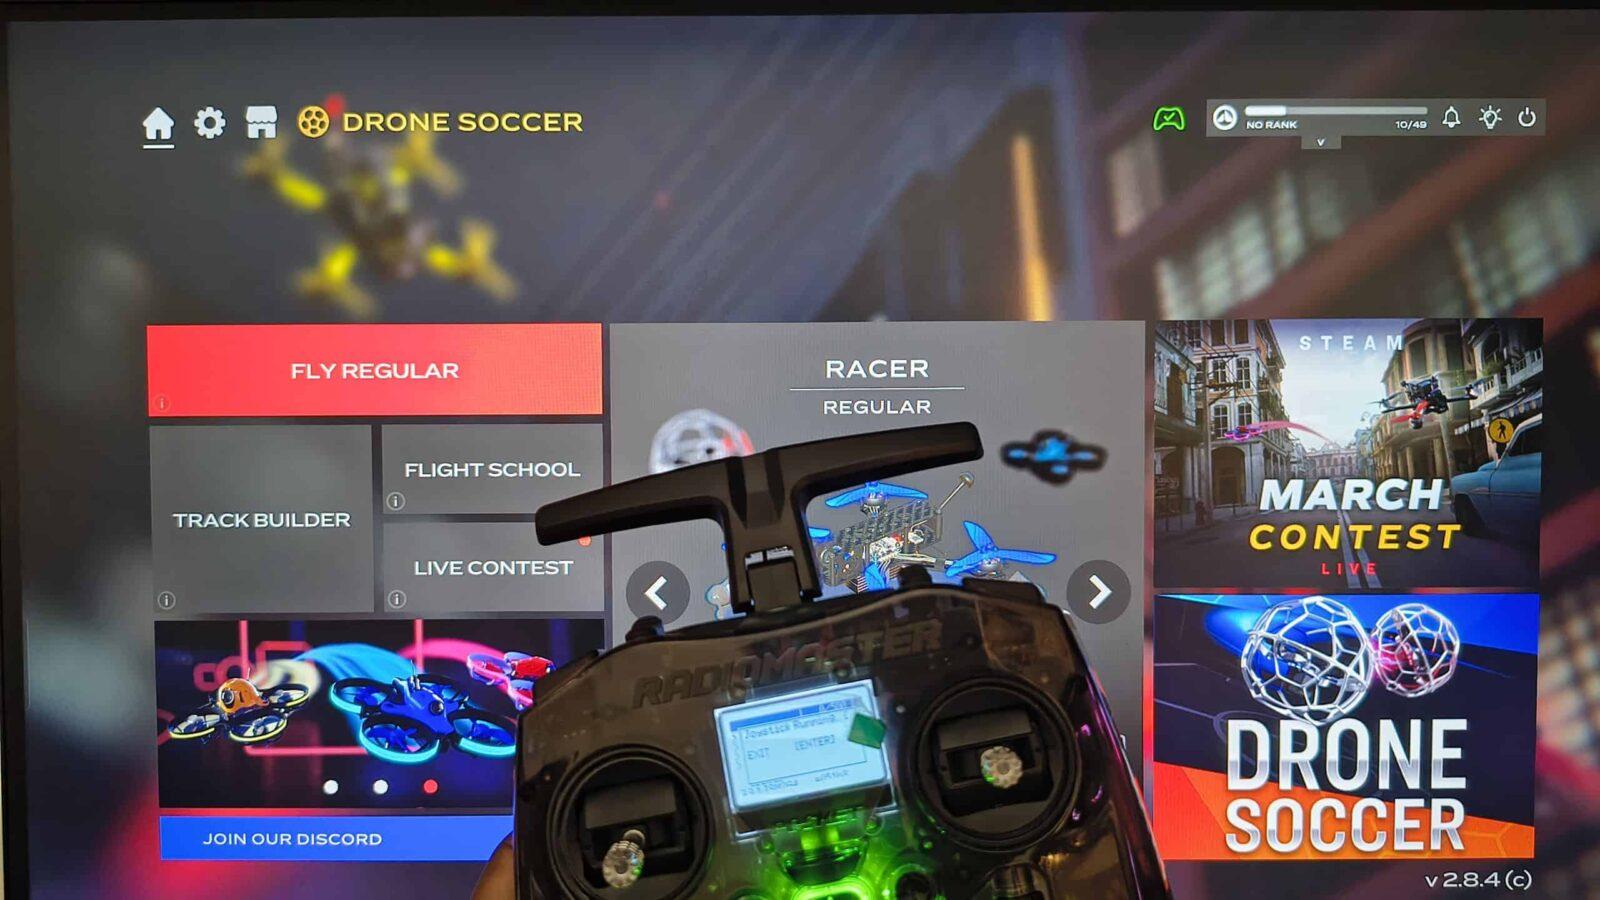
Part 1: FPV.Skydive Simulator Test
Before trusting any transmitter with a real robot, I test in a simulator.
What I Used:
RadioMaster Pocket
You PC gaming one would be better
FPV.Skydive downloaded
USB-C data cable
Setup:
1. Enable Bluetooth on the Radio
Power on your RadioMaster Pocket.
Press and hold the SYS button to enter the Tools menu.
Scroll down and select the ExpressLRS Lua script.
Once the script loads, scroll down to the BLE Joystick (or sometimes labeled "Bluetooth") option.
Press the roller to select [Enable]. The radio should now say "Advertising" or "BLE Active."
2. Connect to your Device (PC)
On your PC/Device: Open your Bluetooth settings and select Add Device.
Look for a device named "ExpressLRS Joystick" or "ELRS BLE".
Select it to pair. Once connected, your computer will recognize the RadioMaster Pocket as a standard Game Controller (HID).
2. Software Calibration in PFV.Skydive
Once the radio is connected via Bluetooth (as the BLE Joystick):
Launch PFV.Skydive and navigate to Settings > Controller.
Select Device: Ensure your Bluetooth HID device is selected from the dropdown menu.
Start Calibration: Click the Calibrate button.
Follow the On-Screen Prompts:
Center Sticks: Leave your sticks at the center (including Throttle, unless the sim asks otherwise) and click Next.
Full Range: Move both sticks to their maximum extents in all directions (circles) so the software can "see" the limits of your 1000 to 2000 signal.
Neutral Position: Return sticks to center.
Did It Work?
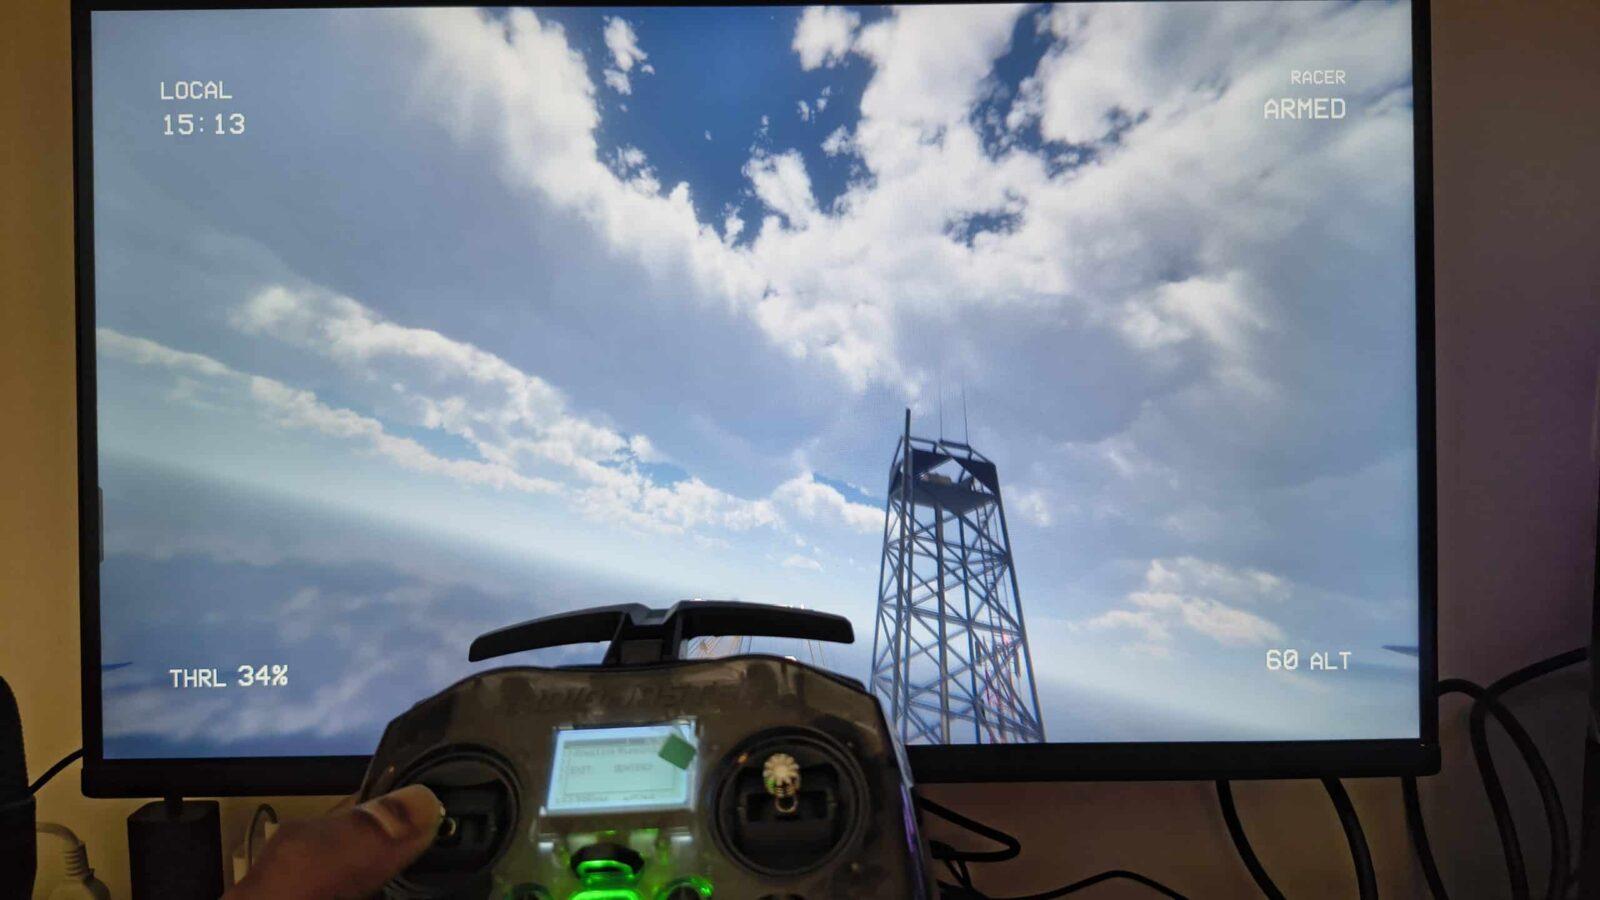
Yes. Latency was minimal, gimbals felt smooth, and the Pocket's vibrate motor even buzzes when I crash. Perfect for practice.
Part 2: Binding with BETAFPV ELRS PWM Receiver 5CH
Now for the soccer bot.
I chose the BETAFPV ELRS PWM Receiver 5CH because:
5 PWM channels (enough for motors + dribbler + kicker)
ELRS = great range and reliability
Small size
~$15-20
Binding Process
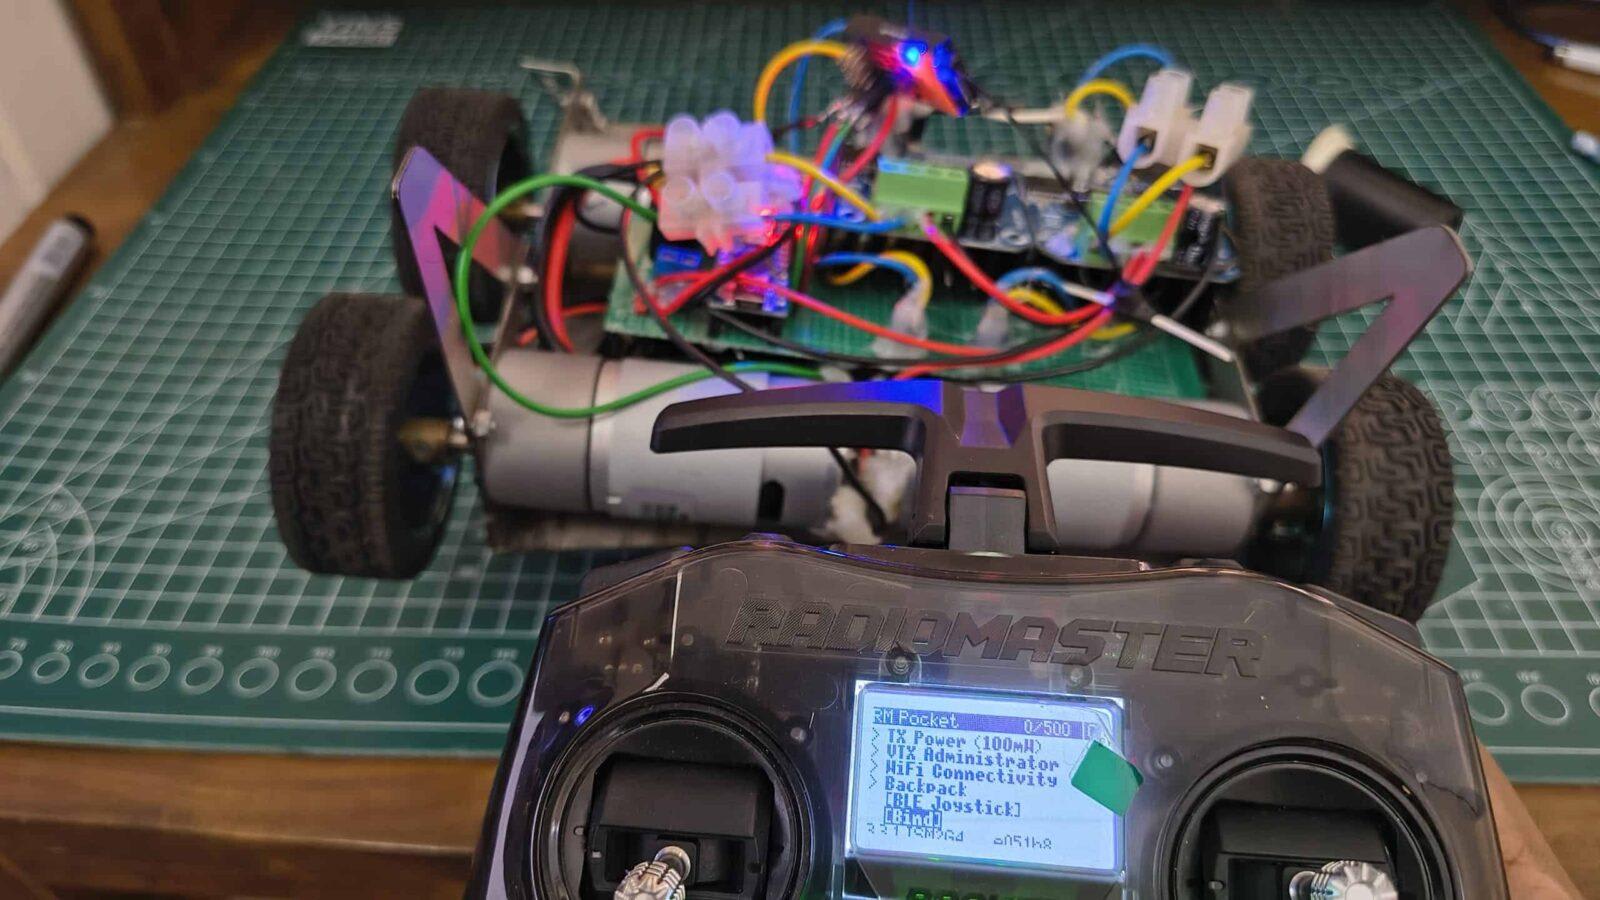
Step 1: Power the receiver (5V and GND). LED blinks fast = bind mode.
Step 2: On Pocket: Model Setup → Internal RF → Mode → Bind.
Step 3: Wait 3 seconds. Receiver LED goes solid.
Step 4: Done. Check telemetry on the Pocket screen.
(Photo: Receiver bound, LED solid, Pocket showing telemetry)
Troubleshooting: If it doesn't bind, check firmware versions. Pocket runs ELRS 3.x – most new receivers are compatible.
Part 4: EdgeTX Setup – The Simple Version
Here's the part that confused me at first, but it's actually dead simple.
I only use the right stick. That's it.
Right stick up/down = both motors forward/backward
Right stick left/right = turn (differential steering)
No complex mixes. No curves. No switches (well, I use one for the dribbler).
Step-by-Step:
1. Create a new model
Long press SYS button
Select "Model Select"
Create new model
2. Set up Internal RF
Model Setup → Internal RF
Mode: ELRS
Make sure it's bound to your receiver
3. Set up Inputs (Optional)I actually skip this – I go straight to Mixer.
4. EdgeTX Setup – The Simple Version
Here's the part that confused me at first, but it's actually dead simple once you see it.
I only use the right stick. Here's exactly what worked for me:
| Channel | Source | Weight | Notes |
|---|---|---|---|
| CH1 | Ail | +100% | turning and spinning |
| CH2 | Ele | +100% | forward and backward movement |
What This Means When You Drive:
| Stick Movement | What Happens |
|---|---|
| Right stick up | CH2 (Ele +100%) → Left motor forward. Bot moves forward. |
| Right stick down | CH2 (Ele -100%) → Left motor backward. Bot moves backward. |
| Right stick right | CH1 (Ail +100%) → Right motor spins. Bot turns right. |
| Right stick left | CH1 (Ail -100%) → Right motor spins opposite. Bot turns left. |
| Diagonal (up + right) | Both motors active – forward + turning combine naturally. |
This gives you:
✅ Forward/backward on Ele (CH2 – left motor)
✅ Turning/spinning on Ail (CH1 – right motor)
✅ Diagonal movement works automatically
✅ Zero complicated mixing – just two simple channels
*(Photo: Pocket screen showing this simple mixer setup – CH1 = Ail, CH2 = Ele)*

Part 5: Real-World Testing
Took it to our university robotics team practice. Outdoor field, ~30m range, other 2.4GHz devices everywhere.
The Good:
✅ Range solid. Never lost signal. RSSI stayed strong.
✅ No jitter. Motors ran smooth, no twitching.
✅ Telemetry useful. Seeing battery voltage on the Pocket screen is genuinely helpful.
✅ Switches feel good. After hours of flicking, no wobble.
The Not-So-Good:
⚠️ Learning curve. EdgeTX took an evening to understand. Worth it, but be patient.
⚠️ Battery doors. The rubber covers for the 18650 compartment are fiddly. Minor annoyance.

The Verdict
For my use case (soccer bot + FPV.Skydive practice):
5/5 Stars. Perfect.
Practice in FPV.Skydive on my phone
Unplug USB
Walk outside
Power up the bot
Drive with the exact same radio and muscle memory
The BETAFPV receiver binds instantly every time. 5 channels give me room to grow. The right stick controls everything I need – forward, backward, left, right. One switch runs the dribbler. Simple.
Buy It If:
You're a student on a budget (~$65-80 is insane value)
You want ELRS (it's flawless)
You need something portable (fits anywhere)
You're building ground vehicles (plenty of switches)
You want one radio for simulator + real bots
Skip It If:
You need smooth proportional dials (the rotary pot is jittery)
You want zero learning curve (EdgeTX takes time)
You need 500+ switches for complex planes (get a bigger radio)
FAQ's
Frequently Asked Questions
What batteries does it use, and can I charge them inside?
The Pocket uses two 18650 Li-ion batteries.
Charging: It features an internal charging circuit via the USB-C port at the bottom.
Note: Use a standard 5V USB charger. Fast chargers (USB-PD) sometimes struggle to negotiate the correct voltage with older radio internal circuits, though the Pocket is generally compatible with most.
Are the gimbals Hall Effect?
Yes. The Pocket comes standard with Hall Effect gimbals. These use magnets instead of physical potentiometers, meaning they won't "wear out" or develop stick drift over time like traditional carbon-track gimbals.
Why is my screen so dim?
The Pocket uses a monochrome LCD to save power.
You can adjust the brightness and contrast by going to SYS > Radio Setup.
Keep in mind that in direct sunlight, the screen is actually more readable when the backlight is off due to its reflective backing.
Can I use it with a flight sim without Bluetooth?
Yes. Just plug a USB-C cable into the top port (the one labeled "USB" near the antenna) and connect it to your PC.
When prompted on the radio screen, select "USB Joystick (HID)".
This provides a lower latency connection than Bluetooth and charges the radio simultaneously.
What's the range when using RadioMaster Pocket with BETAFPV ELRS receiver on the ground?
Excellent for ground vehicle use. In my testing on an outdoor field with obstacles (other robots, people, WiFi interference), I maintained a solid connection up to 30+ meters with RSSI staying above -75dBm. ELRS is known for its penetration and reliability, and the Pocket's built-in ELRS performs flawlessly. For soccer bots, line-followers, or any ground robot within visual range, you'll have zero signal issues.
Affiliate Disclosure
Some links in this post are affiliate links. If you purchase through them, I may earn a small commission at no extra cost. This helps support Roborear. Thanks!
Tags