
The "I Can't Focus" Problem
I have a confession.
I sit down to study. I open my laptop. I swear I'll work for one hour.
Twenty minutes later, I'm watching a video about how to build a robot that makes coffee. Ten minutes after that, I'm checking my phone. Five minutes later, I'm staring at the ceiling wondering where my life went.
The Pomodoro Technique saved me. But the apps? They didn't.
Phone notifications. Distracting interfaces. "Just one more minute" lies.
So I did what any sensible BUET student would do. I built my own.
A physical ESP32 Pomodoro timer. ESP32 brain. OLED display. Buzzer that actually annoys me enough to stop scrolling.
Twenty-five minutes of focus. Five minutes of break. Repeat.
No notifications. No excuses. Just a box that beeps at me until I work.
This video is hosted by YouTube. It loads only when you press play, and YouTube may then set cookies. Watch on YouTube
What is the Pomodoro Technique?
Invented by Francesco Cirillo in the late 1980s, the Pomodoro Technique is simple:
| Phase | Duration | What You Do |
|---|---|---|
| Work Session | 25 minutes | Focus on ONE task. No distractions. |
| Short Break | 5 minutes | Stand up, stretch, check phone, breathe. |
| Long Break | 15 minutes | Every 4 work sessions, take a longer break. |
That's it. No complex system. No expensive apps. Just a timer and discipline.
But here's the problem: using your phone as a timer is dangerous. One notification and you're gone. Using a physical timer? Pure focus.
What You'll Build
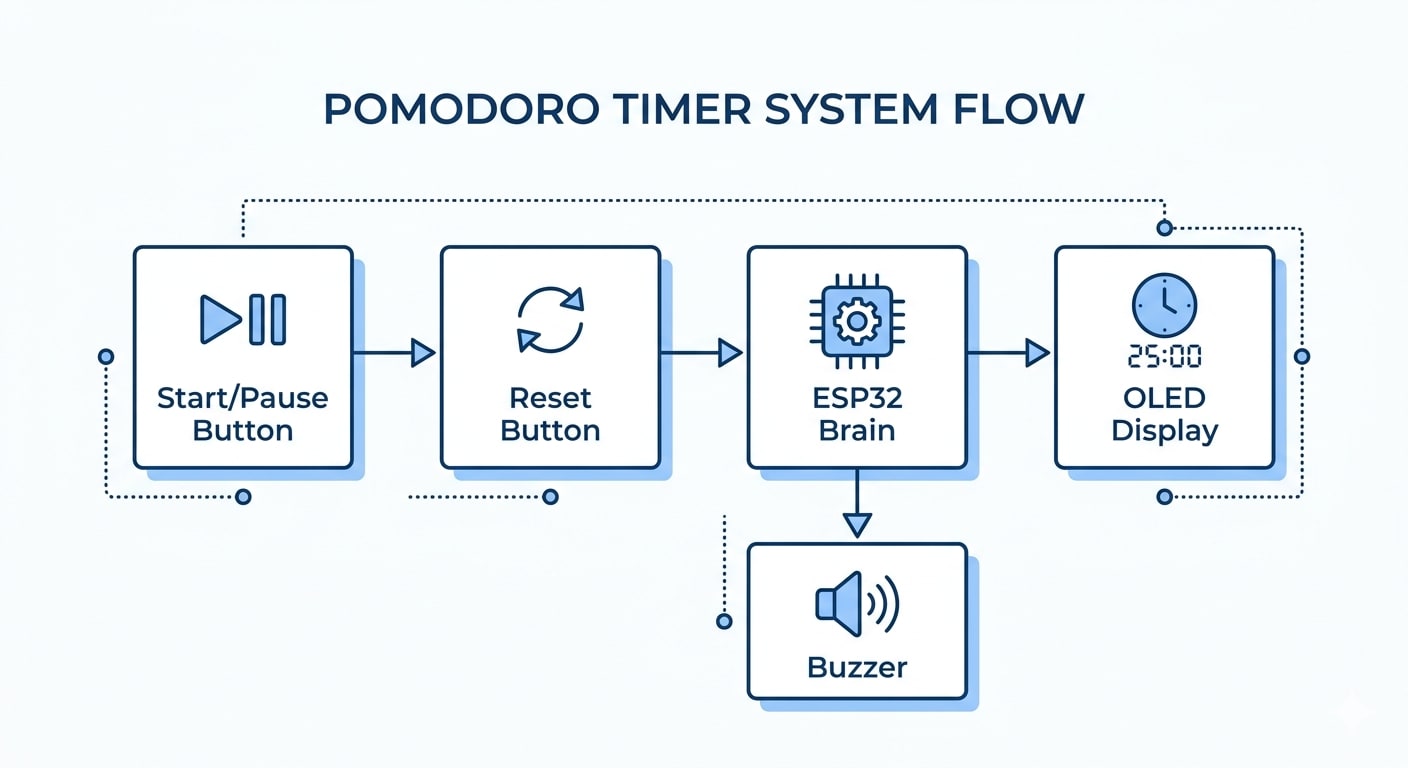
A standalone Pomodoro timer that:
✅ Shows countdown on a bright OLED display
✅ Beeps when time is up (loud enough to notice)
✅ Has physical buttons to start, pause, reset
✅ Runs on USB power (or battery if you want)
✅ Fits in the palm of your hand
No phone. No distractions. Just work.
What You'll Need
Hardware Components
| Component | Specs | Price (USD) |
|---|---|---|
| ESP32 Development Board | Any 30-pin version | $5.00 - $7.00 |
| 0.96" OLED Display | I2C, 128x64 pixels | $2.00 - $4.00 |
| Passive Buzzer | 5V | $0.50 - $1.00 |
| Push Buttons (2x) | Tactile switch | $0.20 - $0.50 each |
| 10kΩ Resistors (2x) | For pull-down | $0.05 - $0.10 each |
| Breadboard | 400 points | $1.00 - $2.00 |
| Jumper Wires | Male-to-female and male-to-male | $1.00 - $2.00 |
| USB Cable | For power/programming | $2.00 - $4.00 |
Total: ~$12.00 - $21.00 USD

Quick Buy Links
| Component | Where to Find |
|---|---|
| ESP32 Development Board | AliExpress / Amazon |
| 0.96" OLED Display I2C | AliExpress |
| Passive Buzzer | AliExpress |
| Tactile Push Buttons (Pack) | AliExpress |
| 10kΩ Resistors (Pack) | AliExpress |
| Breadboard + Jumper Kit | AliExpress |
Wiring It Up (10 Minutes)
I2C OLED Display
| OLED Pin | ESP32 Pin | Notes |
|---|---|---|
| VCC | 3.3V | Power |
| GND | GND | Ground |
| SCL | GPIO 22 | I2C Clock |
| SDA | GPIO 21 | I2C Data |
Buzzer
| Buzzer Pin | ESP32 Pin |
|---|---|
| Positive (+) | GPIO 26 |
| Negative (-) | GND |
Push Buttons
| Button | ESP32 Pin | Through Resistor |
|---|---|---|
| Start/Pause | GPIO 13 | 10kΩ to GND (pull-down) |
| Reset | GPIO 14 | 10kΩ to GND (pull-down) |
Button wiring explained:
One side of button → ESP32 pin
Same side → 10kΩ resistor → GND (pull-down)
Other side of button → 3.3V
When button is pressed, pin reads HIGH. When released, resistor pulls it LOW.
The Code
Full code available on GitHub: [Link to repository]
How the Timer Logic Works
// Pomodoro states
enum TimerState { WORK, BREAK, LONG_BREAK };
TimerState state = WORK;

// Timer variables
unsigned long workDuration = 25 * 60;    // 25 minutes in seconds
unsigned long breakDuration = 5 * 60;    // 5 minutes
unsigned long longBreakDuration = 15 * 60; // 15 minutes
unsigned long timeLeft = workDuration;
bool timerRunning = false;
If VS Code is your preferred editor, make sure you have the PlatformIO extension installed. Read this blog - I Used Arduino IDE for 3 Months. Then I Found VS Code + PlatformIO and Never Went Back
How to Use It
| Button | Action |
|---|---|
| Start/Pause | Press once to start countdown. Press again to pause. |
| Reset | Press to reset to 25:00 work session. |
The flow:
Power on the ESP32. Display shows "WORK 25:00"
Press Start. Timer counts down.
When timer hits 0, buzzer beeps. Automatically switches to BREAK (5:00).
After 4 work sessions, switches to LONG BREAK (15:00).
Press Reset anytime to start over.

Understanding the Code Logic
| Code Section | What It Does |
|---|---|
| enum TimerState | Defines the three timer modes (WORK, BREAK, LONG_BREAK) |
| millis() | Non-blocking timer – allows button presses during countdown |
| updateDisplay() | Refreshes OLED screen with current time and state |
| nextState() | Handles transitions between work/break cycles |
| workSessionsCompleted | Tracks how many work sessions done to trigger long break |
The millis() function is crucial. Unlike delay(), it doesn't freeze the ESP32. You can press buttons while the timer runs.
(Photo: Serial Monitor showing state transitions)
Make It Your Own (Upgrades)
| Upgrade | Difficulty | What You'll Need |
|---|---|---|
| Adjustable times | ⭐ Easy | Add buttons to increase/decrease work/break duration |
| Battery powered | ⭐⭐ Medium | 18650 battery + TP4056 charger module |
| 3D printed case | ⭐⭐ Medium | 3D printer or laser cutter |
| Vibration motor | ⭐⭐ Medium | Vibration motor (for silent alerts) |
| LED indicators | ⭐ Easy | Add RGB LED for visual status (green=work, blue=break) |
| LCD instead of OLED | ⭐ Easy | 16x2 I2C LCD (cheaper, but less fancy) |
The Science: Why 25 Minutes Works
The Pomodoro Technique isn't random. Research shows:
| Time | Why It Works |
|---|---|
| 25 minutes | Long enough to get meaningful work done, short enough to maintain focus |
| 5 minutes | Allows brain to rest, reduces mental fatigue |
| 15 minutes | Longer recovery after 2 hours of focused work |
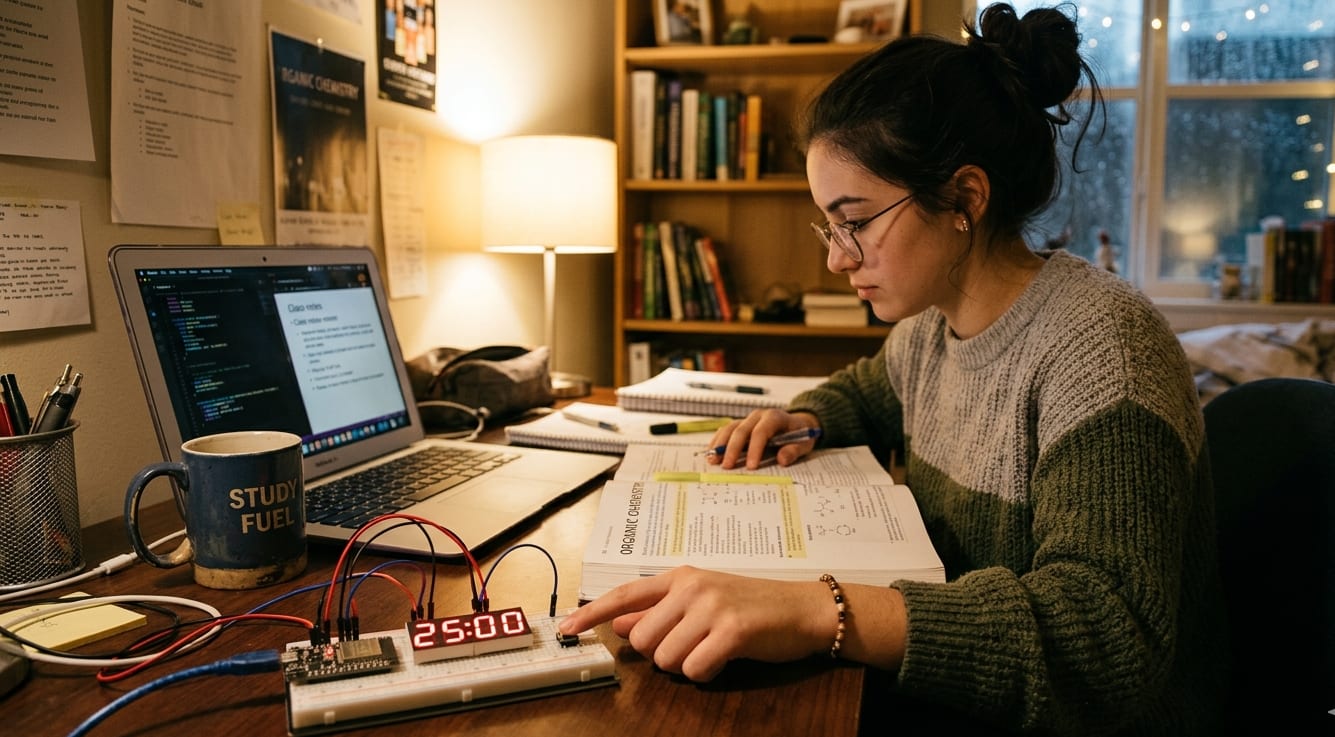
Your brain has limited attention resources. After 25-30 minutes, focus naturally declines. A short break replenishes these resources.
Troubleshooting
| Problem | Likely Cause | Fix |
|---|---|---|
| OLED shows nothing | Wrong I2C address | Try address 0x3C or 0x3D |
| Buttons not working | Missing pull-down resistors | Add 10kΩ resistor from pin to GND |
| Timer doesn't start | Button wiring issue | Check BTN_START pin connection |
| Buzzer not beeping | Passive vs active buzzer | tone() works only on passive buzzers |
| Display flickers | Power supply issue | Add 100µF capacitor across 5V and GND |
Why This is Better Than Phone Apps
| Feature | My ESP32 Timer | Phone App |
|---|---|---|
| No distractions | ✅ Yes | ❌ Notifications everywhere |
| Physical buttons | ✅ Satisfying | ❌ Touchscreen (accidental pauses) |
| Battery lasts | Days/weeks | Hours |
| Loud buzzer | ✅ Annoying enough | ❌ Easy to ignore |
| Learning value | ✅ Priceless | ❌ Zero |
| Cost | ~$15 one-time | Free but with ads/in-app purchases |
I've tried every Pomodoro app. I always ended up scrolling Instagram mid-session. This timer? It just sits there. Beeping. Judging me. Perfect.
What You Learned
| Concept | Why It Matters |
|---|---|
| millis() for timing | Non-blocking code – run multiple things simultaneously |
| State machines (enum) | Manage different modes (work, break, long break) |
| I2C communication | Talk to OLED displays with only 2 wires |
| Button debouncing | Prevent multiple triggers from one press |
| Buzzer with tone() | Generate beeps without extra hardware |
Project Demo
This video is hosted by YouTube. It loads only when you press play, and YouTube may then set cookies. Watch on YouTube
Your Turn
This project took me an afternoon to build and has saved me hours of procrastination.
Now go build yours. Then put it on your desk. And when that buzzer goes off, don't ignore it.
Twenty-five minutes of focus. Five minutes of rest. That's all it takes.
See the timer in action! Watch the other video's of Roborear, and https://www.youtube.com/@Roborear for more weekly projects.
FAQs
Frequently Asked Questions
1. Why is my OLED display showing nothing or just white?
This is the most common issue. Here's how to fix it: First, check your I2C address. Most 0.96" OLEDs use address 0x3C, but some use 0x3D. In the code, change #define OLED_ADDR 0x3C to 0x3D and re-upload. Second, verify wiring. SDA must go to GPIO 21, SCL to GPIO 22 on the ESP32. Swap them if it's not working. Third, check power. The OLED needs 3.3V, not 5V. Connecting to 5V can damage the display. Finally, try the I2C scanner sketch to confirm your display is detected. If the scanner finds nothing, your wiring or display is faulty.
2. Why does my timer pause randomly or not start when I press the button?
This is usually a button debouncing issue. Mechanical buttons "bounce" – they make multiple electrical connections in milliseconds. Your code reads these as multiple presses. The fix is already in the code: delay(300); after detecting a button press. This ignores any further signals for 300ms. If the problem persists, add this improved debounce logic: cpp if (startPressed && (millis() - lastButtonPress > 300)) { lastButtonPress = millis(); timerRunning = !timerRunning; } Also check your wiring. Each button needs a 10kΩ pull-down resistor from the ESP32 pin to GND. Without it, the pin floats and reads random values.
3. How do I change the work and break durations?
The durations are defined at the top of the code. Find these lines: cpp const unsigned long WORK_TIME = 25 * 60; const unsigned long BREAK_TIME = 5 * 60; const unsigned long LONG_BREAK_TIME = 15 * 60; To change to 30-minute work sessions and 10-minute breaks: cpp const unsigned long WORK_TIME = 30 * 60; const unsigned long BREAK_TIME = 10 * 60; If you want to adjust times without re-uploading code, add two extra buttons and modify the code to increase/decrease WORK_TIME and BREAK_TIME on the fly. Store the values in EEPROM so they persist after power loss.
Tags