
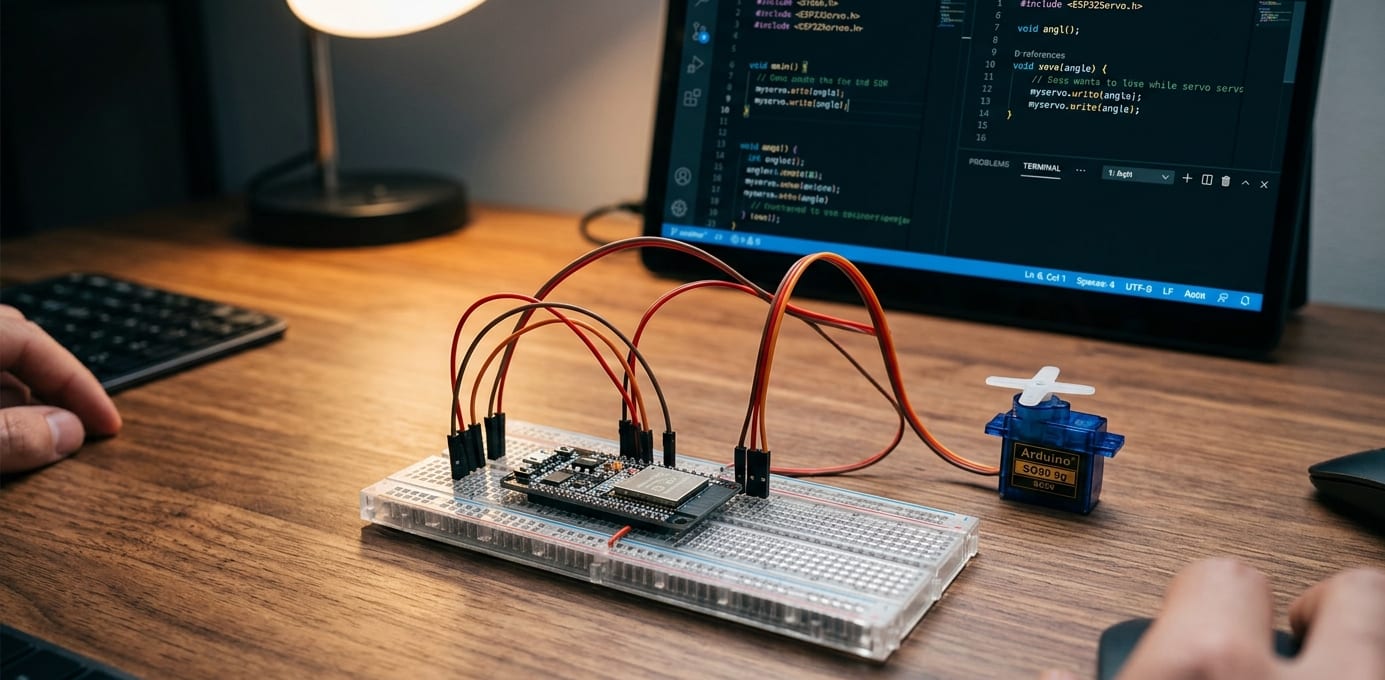
The "It Moves!" Moment | Control Servo Motors
There's something magical about making things move.
LEDs blink. Sensors read. But a servo motor? It physically moves. It turns exactly where you tell it to. It holds position. It obeys commands.
It's the closest thing to bringing a machine to life.
I remember the first time I made a servo sweep back and forth. I sat there watching it like a kid with a new toy. Back and forth. Back and forth. For ten minutes.
My roommate thought I'd lost my mind.
But that was the moment I realized: I can build robots that actually move.
Today, you'll learn how to control servo motors with ESP32 using a professional development environment: VS Code with PlatformIO. No outdated tutorials. No Arduino IDE limitations. Just real robotics coding.
This video is hosted by YouTube. It loads only when you press play, and YouTube may then set cookies. Watch on YouTube
What is a Servo Motor? Control Servo Motors?
Unlike regular DC motors that just spin continuously, a servo motor rotates to a specific angle and holds there.
| Feature | Regular DC Motor | Servo Motor |
|---|---|---|
| Rotation | Continuous | 0 to 180 degrees (usually) |
| Position control | ❌ No | ✅ Yes (you tell it exactly where to go) |
| Hold position | ❌ No | ✅ Yes (resists external force) |
| Speed control | Yes (PWM) | Yes (limited range) |
| Best for | Wheels, fans | Robot arms, steering, camera gimbals |
How a servo works:
Inside the servo:
DC motor (spins fast)
Gear train (reduces speed, increases torque)
Potentiometer (measures current position)
Control circuit (compares target vs actual position)
You send a PWM signal (pulse width). The control circuit reads the potentiometer, calculates the difference, and drives the motor until the position matches.

What You'll Need to Control Servo Motors
| Component | Specs / Notes | Price (USD) |
|---|---|---|
| ESP32 Development Board | Any 30-pin version | $5.00 - $7.00 |
| Servo Motor (SG90 or MG995) | SG90 (small), MG995 (larger, metal gears) | $3.00 - $8.00 |
| Jumper Wires | Female-to-female (servo to ESP32) | $2.00 - $4.00 |
| External Power Supply (for larger servos) | 5V, 2A+ (or 18650 battery) | $5.00 - $10.00 |
| Breadboard (optional) | 400 points | $1.00 - $2.00 |
Total (without external power): ~$11.00 - $21.00 USD
SG90 (small servo): $3-4, works directly from ESP32's 5V pin for testing
MG995 (large servo): $6-8, requires external 5V power supply (ESP32 can't provide enough current)
Quick Buy Links (Affiliate)
| Component | Where to Find |
|---|---|
| ESP32 Development Board | AliExpress |
| SG90 Servo (small) | AliExpress |
| MG995 Servo (large) | AliExpress |
| Potentiometer (10kΩ) | AliExpress |
| Jumper Wires (F-F) | AliExpress |
| External 5V Power Supply | AliExpress |

Wiring to Control Servo Motor with ESP32
To control servo motors, first you need to know the wiring. Servo motors have three wires:
| Wire Color | Function | Connect to ESP32 |
|---|---|---|
| Brown or Black | Ground (GND) | GND pin |
| Red | Power (VCC) | For testing: 5V / For large servos: External 5V |
| Orange or Yellow | Signal (PWM) | GPIO pin (e.g., GPIO 13) |
Power note: The ESP32's 5V pin can power one small servo (SG90) for testing. For any real project or larger servo, use an external 5V power supply.
Setting Up VS Code + PlatformIO to Control Servo Motors
If you haven't already:
Download Visual Studio Code from code.visualstudio.com
Install PlatformIO extension (click Extensions icon, search "PlatformIO IDE")
Create a new project:
Click the PlatformIO icon (ant)
"New Project"
Name:
Servo_ControlBoard:
DOIT ESP32 DEVKIT V1Framework:
Arduino
Install ESP32Servo library:
Click PlatformIO icon → Libraries
Search "ESP32Servo"
Click "Add to Project"
Setting up VS Code and PlatformIO to Control Servo Motors - Robotics for Beginners: Learn ESP32 PlatformIO with VS Code | Blink LED Tutorial

The Code to Control Servo Motors
Basic Sweep to Control Servo Motor (Test Your Servo)
// ============================================================
// ESP32 Servo Sweep - Test your servo
// Moves servo from 0 to 180 degrees and back
// ============================================================

#include <ESP32Servo.h>

// Create servo object
Servo myServo;

// Define the GPIO pin connected to the servo
#define SERVO_PIN 13

void setup() {
  // Attach the servo to the pin
  myServo.attach(SERVO_PIN);

  // (Optional) Set minimum and maximum pulse widths (in microseconds)
  // Standard servos use 500-2500µs
  // myServo.setPeriodHertz(50);      // Standard 50Hz servo
  // myServo.attach(SERVO_PIN, 500, 2500);
}

void loop() {
  // Sweep from 0 to 180 degrees
  for (int angle = 0; angle <= 180; angle++) {
    myServo.write(angle);
    delay(15);  // Wait for servo to reach position
  }

  // Sweep back from 180 to 0 degrees
  for (int angle = 180; angle >= 0; angle--) {
    myServo.write(angle);
    delay(15);
  }
}
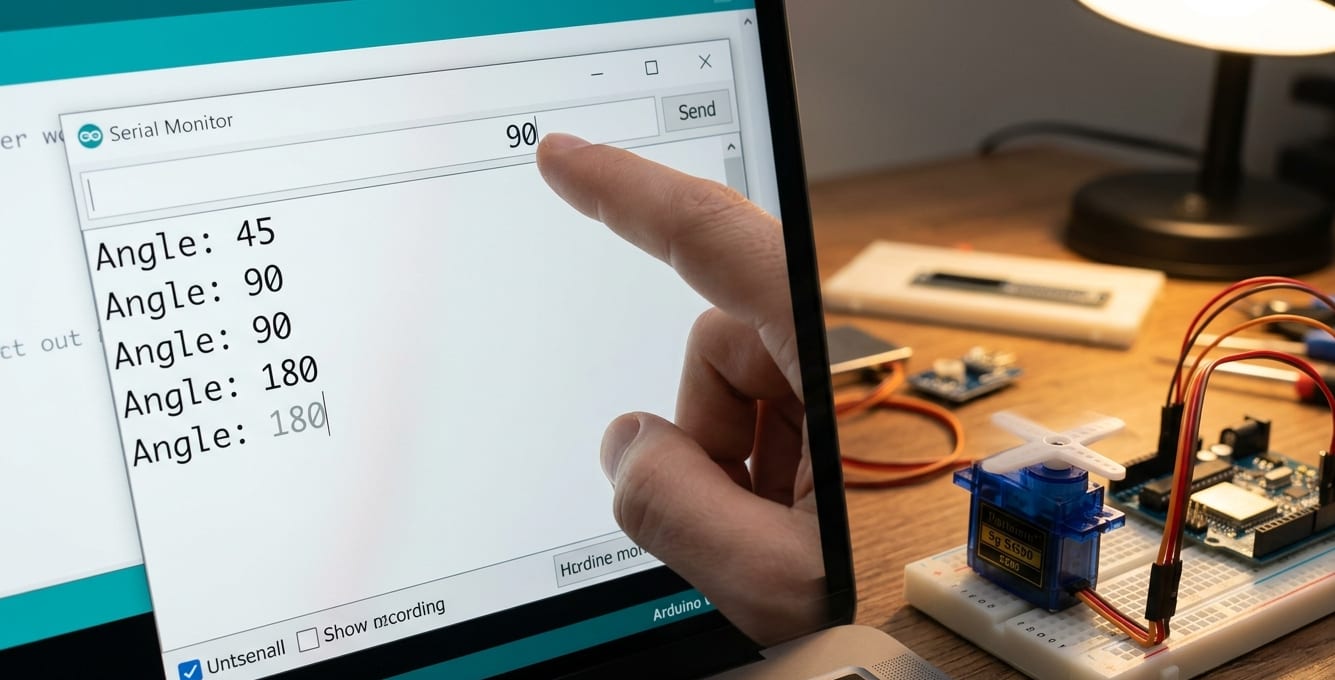
Control Servo Motor with Serial Monitor
// ============================================================
// ESP32 Servo Control via Serial Monitor
// Type a number (0-180) and press Enter
// ============================================================

#include <ESP32Servo.h>

Servo myServo;
#define SERVO_PIN 13

void setup() {
  Serial.begin(115200);
  myServo.attach(SERVO_PIN);
  Serial.println("ESP32 Servo Controller");
  Serial.println("Enter an angle between 0 and 180:");
}

void loop() {
  if (Serial.available()) {
    int angle = Serial.parseInt();
    if (angle >= 0 && angle <= 180) {
      myServo.write(angle);
      Serial.print("Servo moved to: ");
      Serial.print(angle);
      Serial.println(" degrees");
    } else {
      Serial.println("Invalid angle. Please enter 0-180.");
    }
    // Clear the serial buffer
    while (Serial.available()) Serial.read();
  }
}
Control Servo Motor with a Potentiometer
Add a potentiometer to control servo motor manually:
Additional component: 10kΩ potentiometer
Wiring: Potentiometer middle pin → GPIO 34, outer pins → 3.3V and GND
// ============================================================
// ESP32 Servo Controlled by Potentiometer
// Turn the knob = servo moves
// ============================================================

#include <ESP32Servo.h>

Servo myServo;
#define SERVO_PIN 13
#define POT_PIN 34

void setup() {
  myServo.attach(SERVO_PIN);
  Serial.begin(115200);
}

void loop() {
  // Read potentiometer (0-4095)
  int potValue = analogRead(POT_PIN);

  // Map to servo angle (0-180)
  int angle = map(potValue, 0, 4095, 0, 180);

  // Move servo
  myServo.write(angle);

  // Optional: print to Serial Monitor
  Serial.print("Pot: ");
  Serial.print(potValue);
  Serial.print(" | Angle: ");
  Serial.println(angle);

  delay(15);  // Smooth movement
}
Understanding the Code to Control Servo Motor
| Code | What It Does |
|---|---|
| #include <ESP32Servo.h> | Includes the servo library (ESP32-compatible) |
| Servo myServo; | Creates a servo object named myServo |
| myServo.attach(SERVO_PIN); | Tells the ESP32 which pin the servo is connected to |
| myServo.write(angle); | Moves the servo to the specified angle (0-180) |
| myServo.writeMicroseconds(1500); | Alternative: set pulse width (500-2500µs) |
| myServo.detach(); | Releases the pin (turns off signal) |
Important: The ESP32Servo library is different from the standard Arduino Servo library. The ESP32 has 16 hardware timers, so you can control up to 16 servos simultaneously without performance issues.
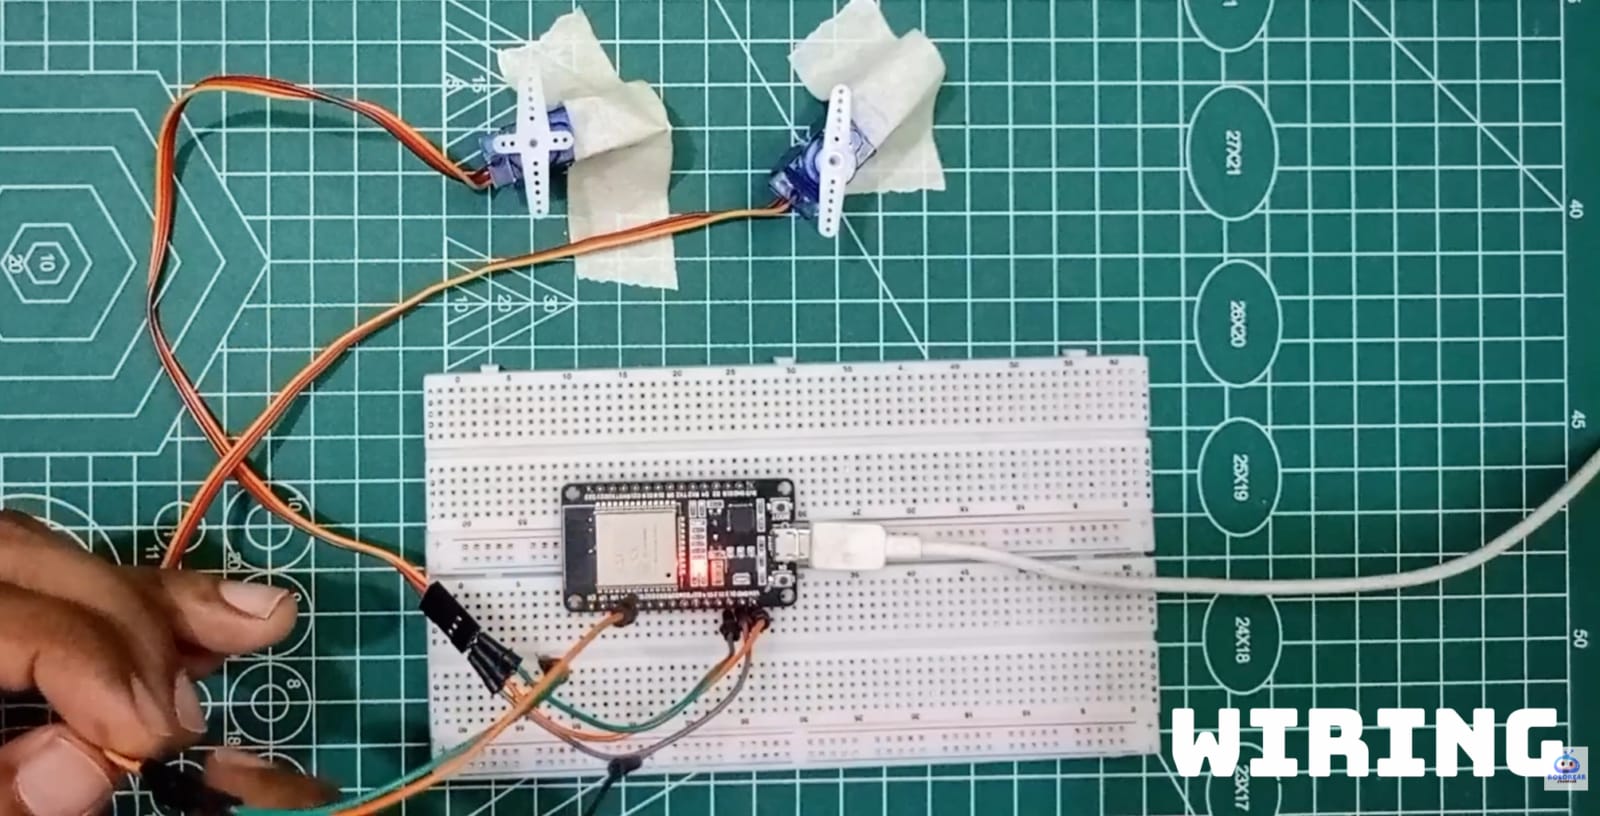
Powering Multiple Servos | Control Servo Motor
The ESP32's 5V pin can only provide about 500mA. This is enough for:
| Servo Configuration | Can ESP32 Power It? |
|---|---|
| 1 SG90 (small servo) | ✅ Yes (for testing) |
| 2-3 SG90 (occasional movement) | ⚠️ Maybe (risk of brownout) |
| Any MG995 (large servo) | ❌ No (needs external power) |
| 4+ servos | ❌ No (needs external power) |
For multiple or large servos, use an external 5V power supply:
USB phone charger (5V, 2A) – good for 2-3 small servos
18650 battery + boost converter – portable option
5V power supply module – bench power for testing
External power wiring:
Connect external power positive to servo red wires
Connect external power negative to ESP32 GND (common ground!)
Servo signal wires go to ESP32 GPIO pins
Common Servo Problems to Control Servo Motor
| Problem | Likely Cause | Fix |
|---|---|---|
| Servo jitters or twitches | Power supply insufficient | Use external power |
| Servo doesn't move at all | Wrong pin or missing attach() | Check myServo.attach(pin) |
| Servo moves only one direction | Signal wire loose | Check connection to GPIO pin |
| Servo buzzes but doesn't turn | Mechanical obstruction or low power | Clear obstruction, check power |
| ESP32 resets when servo moves | Power brownout | External power for servo |
platformio.ini Configuration to Control Servo Motor
Your platformio.ini should look like this:
[env:doit_esp32_devkit_v1]
platform = espressif32
board = doit_esp32_devkit_v1
framework = arduino
monitor_speed = 115200
lib_deps =
    madhephaestus/ESP32Servo@^2.0.3
The lib_deps line tells PlatformIO to automatically download the ESP32Servo library.
Identifying resistor values - How To Read Resistor Color Codes (And Never Burn an LED Again) | 4 Easy Steps
What's Next to Control Servo Motor? Project Ideas
| Project | What You'll Need |
|---|---|
| Robot arm | 3-4 servos, 3D printed arm frame |
| Camera pan-tilt | 2 servos, ESP32-CAM module |
| RC car steering | 1 servo, DC motor + driver |
| Servo walker robot | 6-8 servos, external power |
| Analog gauge | 1 servo, sensor (temperature, distance) |
🎥 Watch the Complete Video Tutorial
See servos in action with step-by-step wiring and code explanation:
📺 How to Control Servo Motors with ESP32 using VS Code & PlatformIO | Robotics for Beginners
👉 Don't forget to Subscribe to Roborear on YouTube for more robotics tutorials every week!
Control servo motor with a joystick - How to Use a Joystick with ESP32: Complete Beginner’s Guide (Wiring + Code)
Your Turn
Servos are the muscles of robotics. They make things move. They make robots real.
Start with the sweep example. Watch the servo move back and forth. Then try the potentiometer control. Then build something.
A robot arm. A pan-tilt camera. A walking robot. Hope you liked the tutorial - Control Servo Motors
The possibilities are endless.
FAQs
Frequently Asked Questions
1. Why is my servo jittering or not moving smoothly? - Control Servo Motors
Servo jitter is almost always a power issue. The ESP32's 5V pin cannot provide enough current for reliable servo operation, especially when the servo is under load. First, try powering the servo from an external 5V power source (USB phone charger or battery pack) while keeping the signal wire connected to the ESP32. Ensure you connect the grounds together (external power GND to ESP32 GND). This alone solves most jitter problems. Second, check your wiring. Loose connections, especially on the signal wire, cause erratic behavior. Use female-to-female jumper wires for a secure fit. Third, add a capacitor across the power and ground near the servo. A 100µF to 470µF electrolytic capacitor can smooth out voltage spikes and dips. Fourth, the servo might be defective or damaged. Test with a different servo if possible. If you're using the ESP32Servo library, the default refresh rate is 50Hz (standard). If your servo expects a different rate, use myServo.setPeriodHertz(50) before attaching. Some servos also jitter because they are hitting their mechanical limits. Keep angles between 10 and 170 degrees instead of 0 to 180 to avoid this. Finally, add a small delay (15-30ms) after each servo movement to give the servo time to settle before the next command.
2. Can I control multiple servos with one ESP32? - Control Servo Motors
Yes, absolutely! The ESP32 can control up to 16 servos simultaneously using the ESP32Servo library. The library uses the ESP32's hardware timers efficiently. You simply create multiple Servo objects and attach each to a different GPIO pin. cpp #include
Servo servo1; Servo servo2; Servo servo3; void setup() { servo1.attach(13); servo2.attach(14); servo3.attach(27); } The real limitation is power, not the number of pins. The ESP32's 5V pin can only power 1-2 small servos for testing. For multiple servos, you MUST use an external power supply. Calculate your power needs: Each SG90 servo draws up to 250mA when moving. Four servos = 1A minimum. Each MG995 draws up to 900mA – two would need nearly 2A. External power connection: Connect external 5V supply positive to all servo VCC (red) wires Connect external supply negative to ESP32 GND (common ground) Connect each servo signal to its ESP32 GPIO pin The ESP32Servo library documentation has examples for up to 16 servos.
3. What's the difference between SG90 and MG995 servos? Which one should I buy? - Control Servo Motors
SG90 is perfect for beginners and small projects. It's cheap, lightweight (9g), and works directly from the ESP32's 5V pin for testing. Use it for camera gimbals, pan-tilt mechanisms, small robot arms. The plastic gears are fine for learning but can strip if the servo is forced. It draws about 150-250mA when moving. MG90S is the metal-gear upgrade to the SG90. It weighs 14g and provides slightly more torque (2.2 kg·cm vs 1.8 kg·cm). The metal gears make it much more durable, perfect for walking robots like Otto that might fall over. It draws similar current to the SG90 but costs a few dollars more. MG995 is for heavy-duty work. It can lift heavier objects and withstand more abuse with its metal gears. But it requires external power – the ESP32 cannot provide enough current. The MG995 has a reputation for electrical noise; add a capacitor near the servo if your ESP32 resets when it moves. It draws 500-900mA, so use a separate 5V 2A power supply. My recommendation: Start with an SG90 for learning. Buy an MG90S for walking robots or projects that take physical abuse. Buy an MG995 later when you build a robot that needs to lift something heavy. For a complete parts list, see the Quick Buy Links section above.
4. Why is my servo jittering or making buzzing noises when not moving? - Control Servo Motors
This is a very common issue, especially with cheaper servos like the SG90. Here's what causes it and how to fix it. First, check your power supply. The ESP32's 5V pin cannot provide stable current for servos, especially when they are holding position. Power your servos from an external 5V power supply rated for at least 2A. Connect the external supply's ground to the ESP32's ground. Second, add a capacitor to filter electrical noise. Place a 470 microfarad electrolytic capacitor across the servo's power (red wire) and ground (brown wire). This smooths out voltage spikes and reduces jitter. Third, check your signal wires. Long wires act as antennas and pick up interference. Keep servo signal wires as short as possible. If you need longer wires, use shielded cables. Fourth, the servo library matters. The standard Arduino Servo library has known issues on ESP32. Always use the ESP32Servo library instead. If the jitter persists, try detaching the servo when it's not moving. Add a delay after moving, then call myServo.detach(). This stops the PWM signal and prevents constant jitter. Re-attach before the next movement. Finally, the servo itself might be defective or reaching its physical limit. Keep angles between 10 and 170 degrees, not 0 to 180. Hitting the mechanical end-stop can cause buzzing and overheating.
5. What's the difference between SG90, MG90S, and MG995 servos? Which one should I buy for my ESP32 project? - Control Servo Motors
This is a crucial question because using the wrong servo can lead to power issues or damaged components. The SG90 is the smallest and cheapest servo. It uses plastic gears and weighs about 9 grams. It provides around 1.8 kg·cm of torque. When moving, it draws about 150-250 milliamps. The SG90 is best for lightweight projects like small robot arms, camera tilt mechanisms, or simple automation where weight is a concern. The MG90S is similar in size to the SG90 but has metal gears. It weighs about 14 grams and provides slightly higher torque at around 2.2 kg·cm. It draws about 200-300 milliamps when moving. The MG90S is more durable than the SG90 and can survive drops and crashes better. This is the best choice for walking robots like Otto where servos take mechanical shock. The MG995 is a standard-sized servo, much larger and heavier at 55 grams. It provides high torque around 10-12 kg·cm but draws 500-900 milliamps when moving and up to 2.5 amps when stalled. The MG995 requires external power and cannot be powered from the ESP32's 5V pin. This servo is best for heavy-duty applications like robotic arms lifting objects or large wheeled robots. For most ESP32 beginner projects, start with the SG90. It's cheap and works well for learning. For walking robots or projects that might fall, upgrade to the MG90S. Only buy the MG995 if you specifically need high torque and have external power available. Also note that using high-torque servos may require additional capacitors and a separate power supply to prevent brownouts on your ESP32.
Tags